
Good Planting Guide
Date: 01-07-2022
Water well before planting
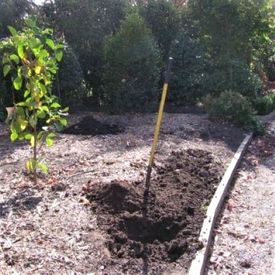
Dig a hole twice the pot’s width and slightly deeper than the heigh of the pot.
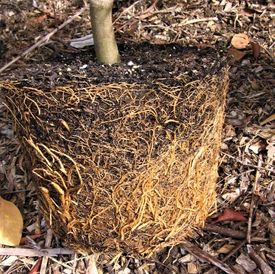
White, fibrous roots are ideal.

Shave sides and bottom of tight root balls to encourage new root growth.

Submerge root ball into water before planting.
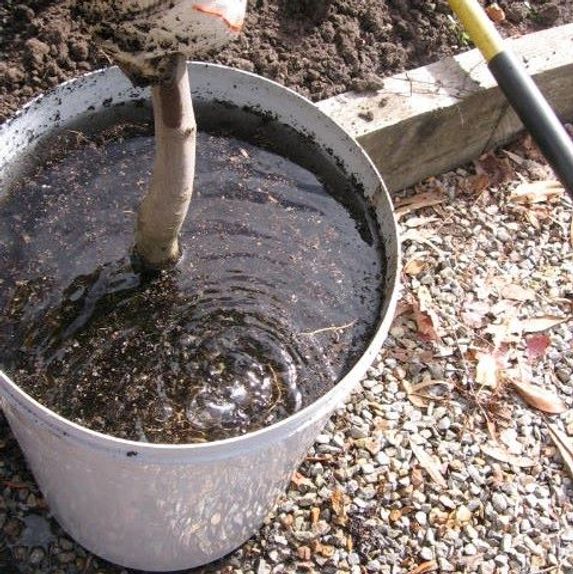
Submerge small pots in water until air bubbles stop.
Use drip irrigation for ongoing care.
A PRACTICAL PLANTING RESOURCE | How To Plant
Step 1: Select the Right Plant
- Match Plant to Environment
- Assess sunlight, shade, wind exposure, and soil type.
- Choose plants that thrive in your specific conditions.
- Design with Purpose
- Create a cohesive garden theme.
- Use plants with similar growing needs.
- Refer to resources like Warners Plant What Where for inspiration.
- Buy from Accredited Growers
- Ensures plants are disease-free and grown in sterile conditions.
- This will avoid introducing pests or weeds to your garden.
- Inspect Plant Health
- Look for vibrant, undamaged leaves.
- Avoid plants with yellowing, black spots, or signs of disease.
- Check for healthy stems and avoid pot-bound roots.
Step 2: Prepare the Site
- Check Drainage
- Ensure water drains well through the soil.
- Use raised beds or install drainage system if needed.
- Improve clay soil with gypsum and organic matter.
- Avoid adding gravel or crocking to beds/pots.
- Improve Soil Quality
- Ensure soil is friable (crumbly).
- Mix in compost or organic matter to enhance soil quality.
- Use quality soil mix for new beds (not potting mix).
Step 3: Planting Techniques
- Assess and Prepare Roots
- White, fibrous roots are ideal.
- Shave sides and bottom of tight root balls to encourage new root growth.
- Saturate the Root Ball
- Water thoroughly before planting.
- Use wetting agents to saturate large pots.
- Submerge small pots in water until air bubbles stop.
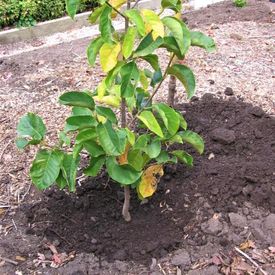
- Plant at Correct Depth
- Dig a hole twice the pot’s width and slightly deeper than the heigh of the pot.
- Ensure the top of the root ball is flush or slightly below soil level.
- Keep graft points above soil to prevent disease.
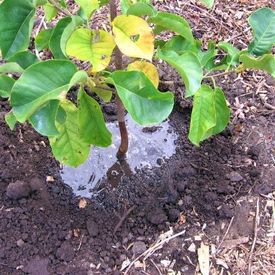
- Create a Water Catchment Zone
- Backfill soil and form a ring around the base of the plant
- This helps direct water to the root zone.
- Mulch Properly
- Apply thick mulch to retain soil moisture.
- Keep mulch away from stems.
- Maintain the catchment zone’s effectiveness.
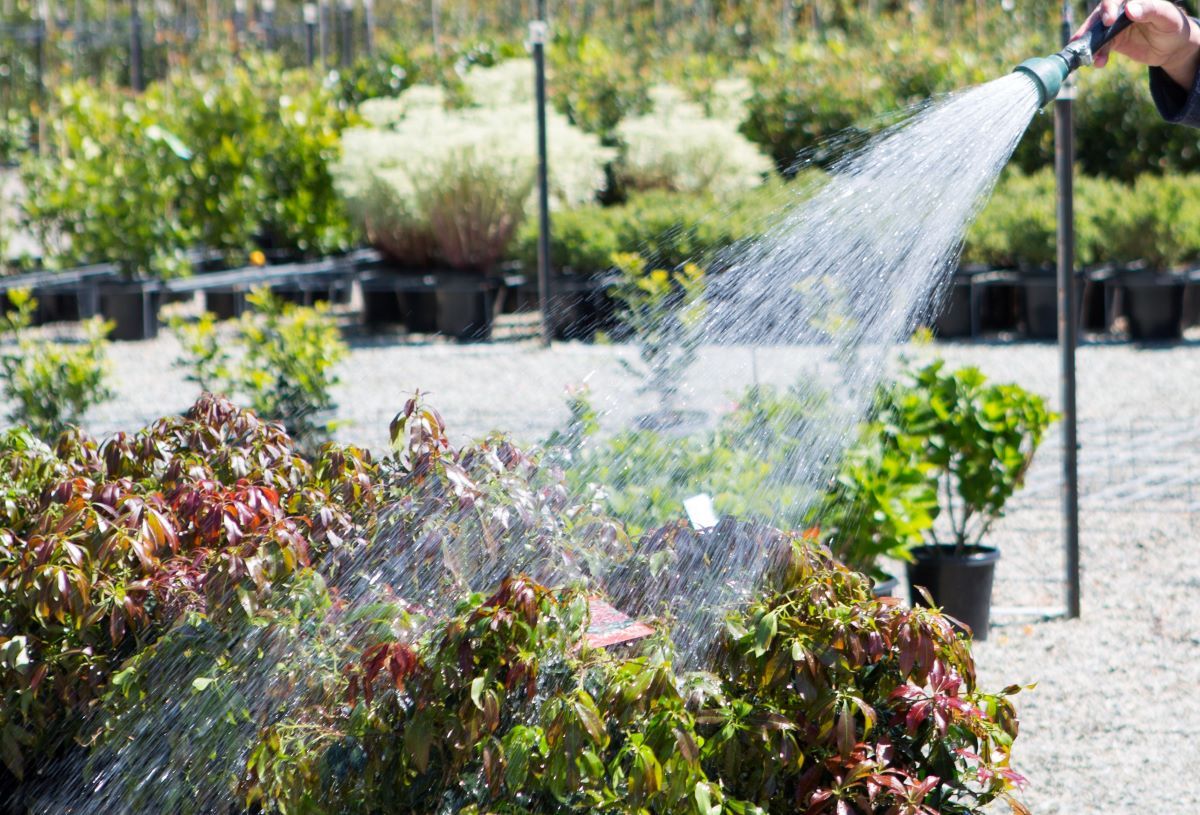
- Water Deeply After Planting
- Hand-water into the catchment zone.
- Helps settle soil and hydrate roots.
Step 4: Long-Term Maintenance
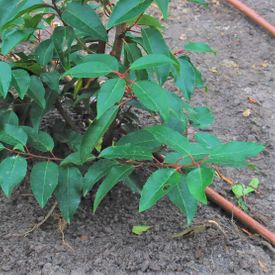
- Watering
- Hand-water during the first growing season.
- Use drip irrigation for ongoing care.
- Deep weekly watering is better than daily light watering.
- Supplement watering during dry spells.
- Pruning
- Regular shaping encourages healthy, attractive growth.
- Typically done after flowering, or in late spring.
- Fertilising
- Use appropriate fertiliser for each plant type.
- Apply slow-release fertiliser in spring.
- Use soluble fertilisers for quick boosts.
- Avoid fertilising during hot weather to prevent burn.
For more information:
Download the Good Planting Guide
Watch Diacos Nursery Planting video featuring Andrew from Warners.